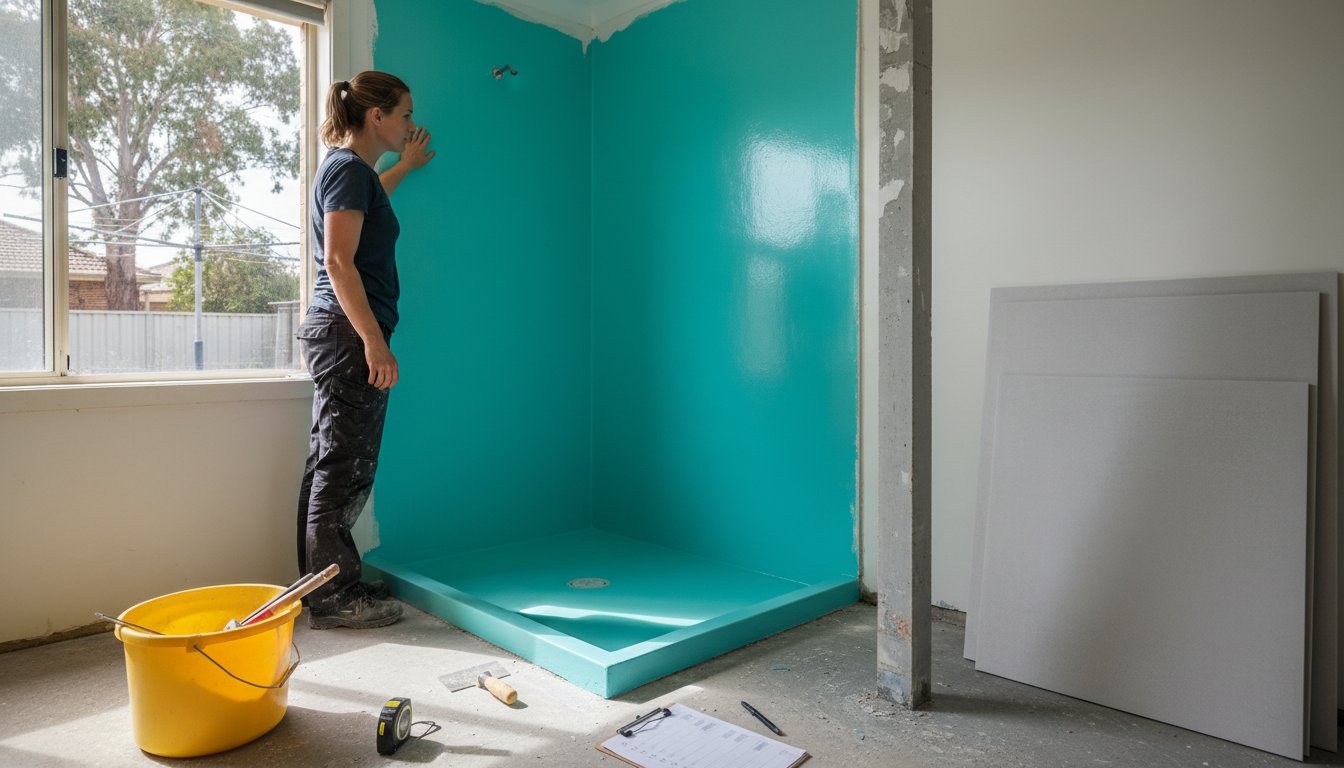
Did you know that 47% of all Australian homeowners undertaking renovations in 2026 are prioritising a bathroom remodel? It's the most popular way to add immediate value to your property; however, many people dive into the design phase without considering the structural integrity beneath the tiles. While choosing the perfect brushed brass tapware is exciting, the true success of your project rests on compliance with the latest NCC standards and ensuring your wet area is 100% watertight.
It's natural to feel concerned about hidden plumbing issues or the risk of waterproofing failure leading to structural damage. You deserve a sophisticated sanctuary that reflects your style, not a project that results in budget blowouts and confusion over NSW council regulations. We've compiled this guide to give you the confidence to plan a stunning, compliant, and leak-free renovation that meets the rigorous AS 3740:2021 standards.
We'll explore a comprehensive checklist that covers everything from spa-inspired wellness trends to the critical lead-free plumbing requirements starting in September. You'll gain a clear understanding of how to manage your timeline and budget, ensuring your finished space is as durable as it is beautiful.
Key Takeaways
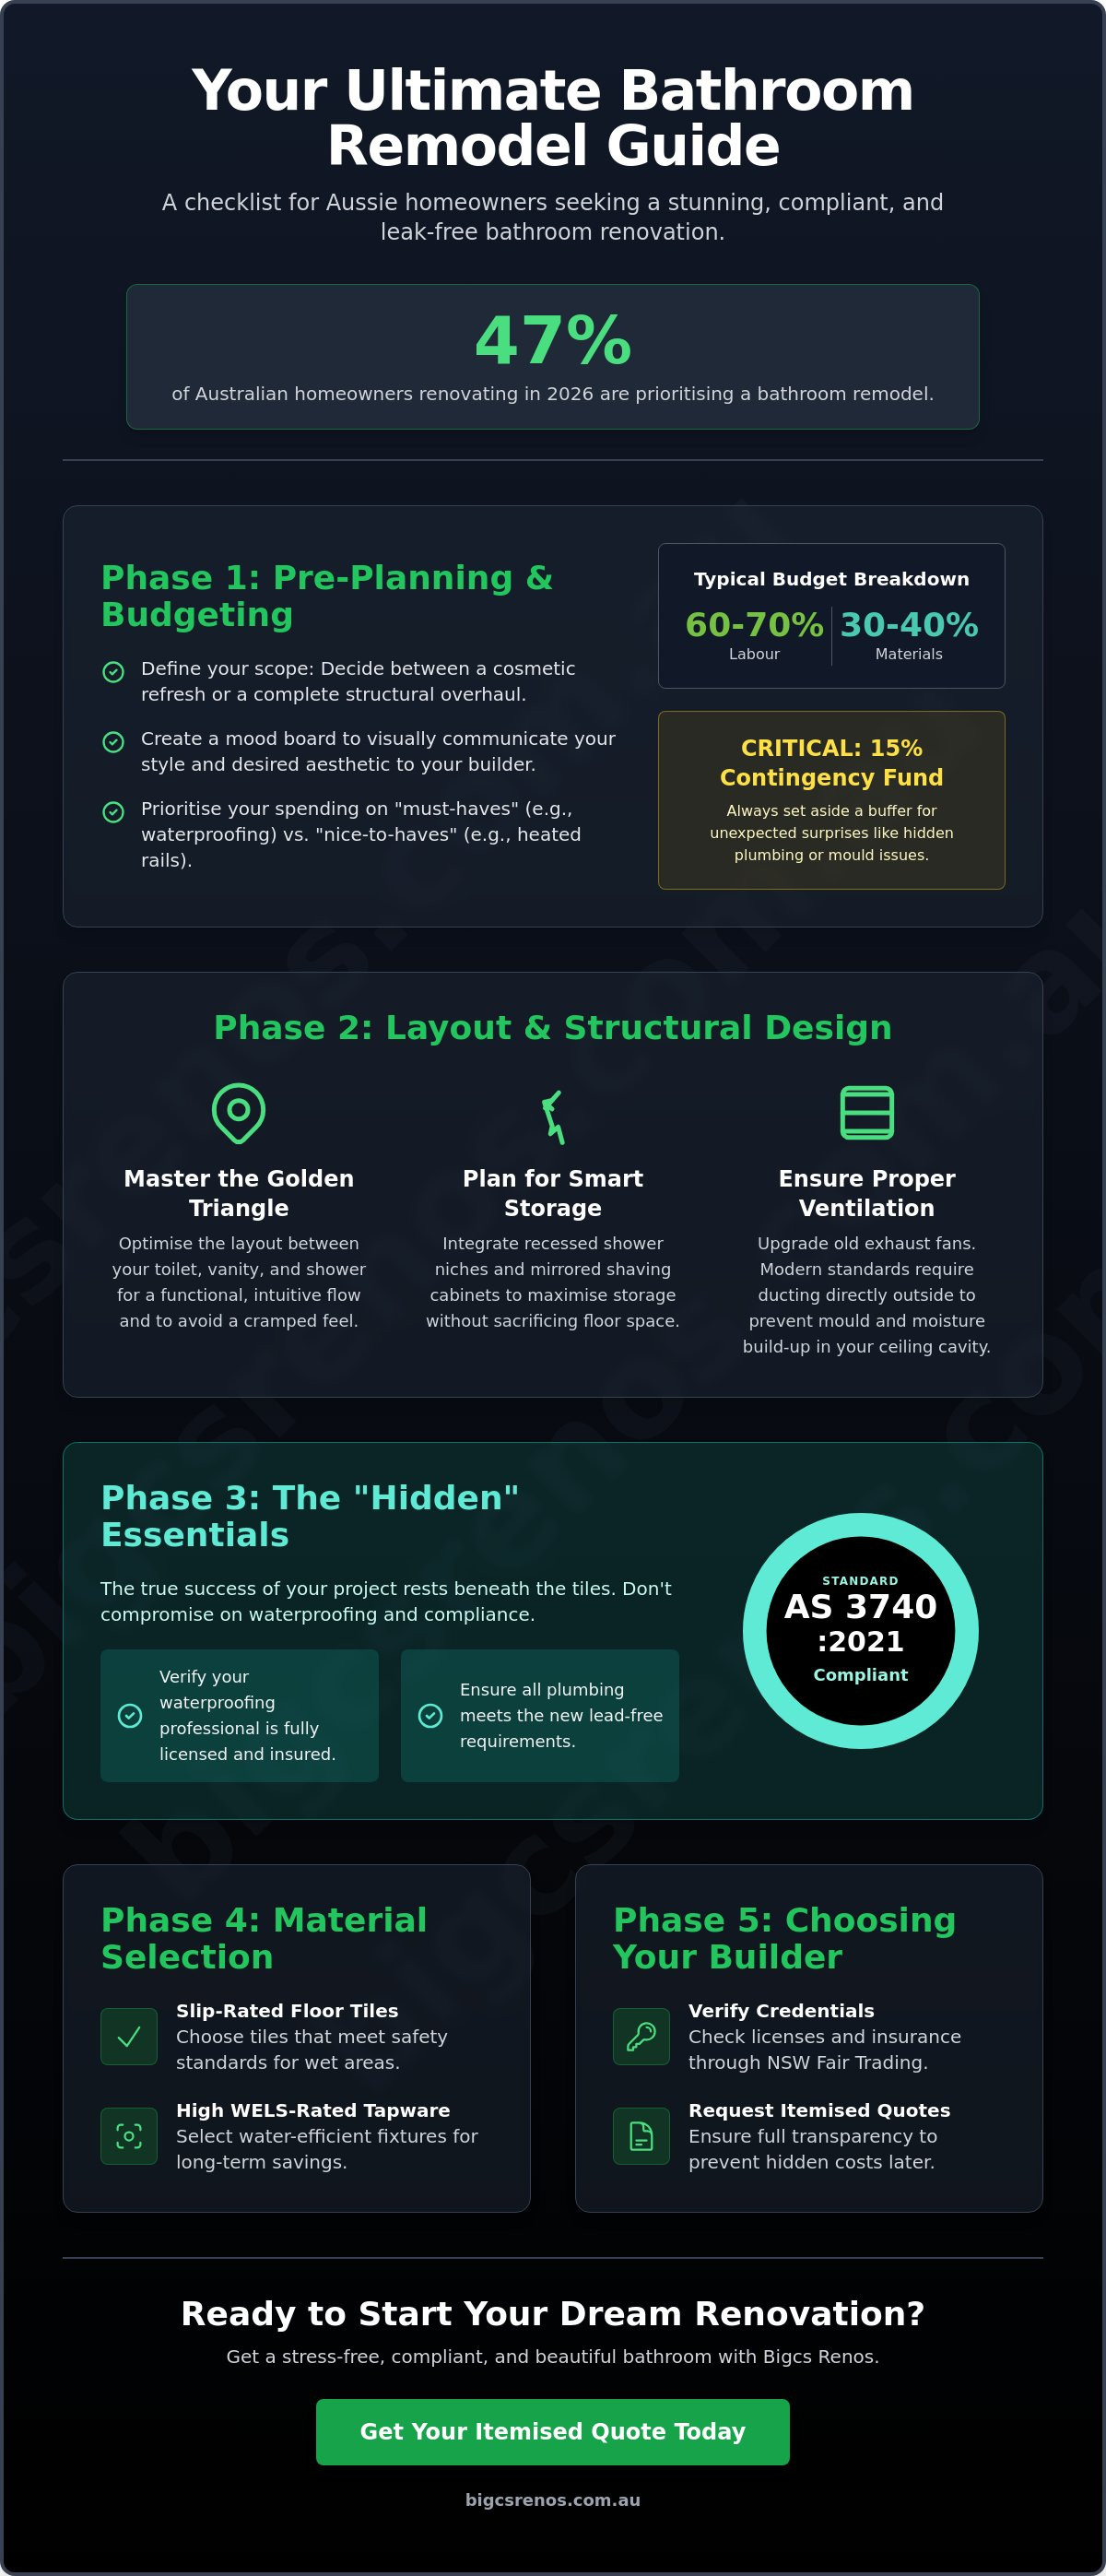
- Learn how to set a realistic budget for your bathroom remodel, including a 15% contingency fund to handle any unexpected plumbing surprises behind the walls.
- Master the "Golden Triangle" design principle to ensure your new layout is as functional and spacious as it is beautiful.
- Understand the critical importance of AS 3740 compliance and how to verify that your waterproofing professional is fully licensed for your peace of mind.
- Discover how to select high-quality materials, from slip-rated floor tiles to high WELS-rated tapware, that balance aesthetic appeal with long-term efficiency.
- Gain the tools to choose a reliable builder by verifying credentials through NSW Fair Trading and requesting itemised quotes to prevent hidden costs.
Phase 1: The Pre-Planning & Budgeting Checklist
A successful bathroom remodel is built on a foundation of clear intentions and meticulous planning. Before you start browsing for the perfect freestanding bath, you must decide if you're looking for a cosmetic refresh or a complete structural overhaul. The renovation process requires a logical approach to ensure your vision aligns with your budget and the physical constraints of your home. Start by auditing your current space. Note the exact location of existing plumbing points and electrical outlets. Keeping these in their original positions is the most effective way to save on relocation costs, as moving a single fixture can significantly increase your expenses.
Once you understand the bones of your room, research your style thoroughly. Don't just rely on mental images; create a physical or digital mood board. This visual tool is essential for communicating your aesthetic to your builder, ensuring that every tile choice and tapware finish contributes to a cohesive design. It's much easier to refine your vision on paper than it is to make changes once the old bathroom has been stripped back to the studs.
Determining Your Renovation Scope
Precision is key when defining what stays and what goes. Inspect your current walls and floors for telltale signs of water damage or mould. These issues often hide behind old tiles and require professional remediation before any new work begins. You should also consider the future functionality of your home. For instance, many Sydney homeowners are now choosing to integrate a "European laundry" into their bathroom remodel. This clever space-saver combines your washing facilities within the bathroom footprint, which is an excellent way to add value to smaller floor plans or granny flats.
Establishing a Realistic Budget in 2026
Financial transparency is the best way to keep your project stress-free. In the current market, a sensible breakdown typically sees labour accounting for 60 to 70% of the total cost, with materials and fixtures making up the remaining 30 to 40%. It's vital to separate your "must-haves," such as high-quality waterproofing and tiling, from "nice-to-haves" like heated towel rails. This prioritisation helps you stay on track when making final selections. Don't forget to factor in local logistics. Sydney-specific costs, such as skip bin permits and delivery fees for heavy stone or tiles, can add up quickly. Always set aside a 15% contingency fund. This buffer is your safety net for those "behind the wall" surprises that only become visible once the demolition phase is complete.
Phase 2: Layout Design & Structural Considerations
A successful bathroom remodel relies on more than just high-end finishes; it requires a layout that flows intuitively. Start by measuring your "Golden Triangle," which is the distance between your toilet, vanity, and shower. These three points form the core of your daily routine. If they're too far apart, the room feels disjointed; too close, and it becomes cramped. You also need to look up. Modern ventilation standards are far stricter than they were a decade ago. If your current exhaust fan just moves air into the ceiling cavity rather than ducting it outside, it's time for an upgrade to prevent mould and moisture build-up. Think about the long term too. If this is your "forever home," incorporating a curb-less walk-in shower or reinforced wall blocking for future grab rails is a smart, forward-thinking move.
Storage should never be an afterthought. Instead of bulky cupboards that eat into your floor space, plan for integrated solutions. Recessed niches in the shower provide a sleek spot for essentials, while mirrored shaving cabinets offer eye-level storage that keeps your vanity surface clutter-free. These small design choices elevate the room from a standard utility space to a refined sanctuary.
Optimising Your Bathroom Floor Plan
Small adjustments often yield the biggest results. Aim for at least 600mm of clear space in front of your toilet and vanity to ensure comfortable movement. It's also vital to verify door swings; nothing ruins the premium feel of a renovation like an entry door that clips the vanity or shower screen. For those working with compact footprints, consider wall-hung vanities. These fixtures reveal more of the floor, creating an illusion of space that makes the room feel significantly larger. If you're planning a project in an older Sydney property, remember that EPA renovation guidelines provide important safety contexts for handling legacy materials during structural shifts.
Structural Changes and Extensions
Sometimes the existing footprint simply isn't enough to meet your goals. If you find your current space restrictive, it might be time to investigate home extensions that allow for a dedicated ensuite or a more generous family bathroom. Determining whether a wall is load-bearing is a critical first step before you start. Moving these walls requires professional engineering and precision, but the reward is a transformed floor plan that adds genuine property value. If your home is a multi-level dwelling, consult with your builder about the feasibility of first-floor additions. This approach is often the most efficient way to add a second bathroom without sacrificing your precious backyard space.
Phase 3: The "Hidden" Essentials (Waterproofing & Compliance)
While the previous stages focused on the visible flow and structural footprint, Phase 3 is where the true longevity of your bathroom remodel is decided. This phase covers the "hidden" essentials that ensure your investment remains pristine for decades. The most critical element here is compliance with AS 3740, the Australian Standard for waterproofing domestic wet areas. You must verify that your waterproofing professional is fully licensed and, once the work is complete, they must provide a compliance certificate. This document isn't just paperwork; it's your insurance that the membrane has been applied correctly to prevent catastrophic leaks. This focus on technical precision is what separates a standard bathroom remodel from a professional, long-lasting renovation.
Precision during this stage extends to the tiling preparation. We always recommend using high-quality epoxy grout for shower floors. Unlike standard cement-based grout, epoxy is non-porous and incredibly durable; it acts as a superior line of defence against moisture penetration. Additionally, your builder must ensure the floor has the correct "fall" toward the waste. Without a precise gradient, water will pool on your tiles, leading to stagnant areas and potential membrane stress. These technical details might not be as glamorous as choosing a vanity, but they're the components that keep your home safe and dry.
Why Waterproofing is Non-Negotiable
Cutting corners on waterproofing is a gamble with high stakes. A small saving during the initial application can easily lead to repairs costing upwards of $20,000 if water penetrates the subfloor or structural timber. The process is meticulous. It begins with professional priming, followed by the installation of bond breakers at all wall-to-floor junctions. Multiple coats of a high-quality membrane are then applied, with each layer needing sufficient drying time. This is especially vital for bathrooms located on upper levels or those integrated into granny flats, where a leak can quickly damage the living areas below.
Plumbing and Electrical Rough-in Checklist
Before the walls are closed and the tiling begins, you must audit the "rough-in" components. If your home is an older Sydney property, inspect any existing copper or galvanised pipes for signs of corrosion or pinhole leaks. It's far more cost-effective to replace these now than to tear up fresh tiling later. This is also the time to finalise your electrical plan. All work must adhere to strict IP (Ingress Protection) ratings for wet zones, specifically Zones 0, 1, and 2. Ensure your checklist includes these critical checks:
- Pipe Integrity: Replace any corroded lines to prevent "behind the wall" surprises.
- Electrical Safety: Verify all fittings meet IP ratings for their specific zone.
- Future-Proofing: Pre-wire for smart additions like heated towel rails or touchless sensors.
In cases where older properties reveal deeper drainage issues during the rough-in stage, understanding modern repair methods is beneficial. Specialists like A-1 Trenchless Water & Sewer Repair Services LLC highlight how advanced no-dig technologies can address sewer concerns efficiently, ensuring your home's foundation remains undisturbed while the interior renovation proceeds.
If you've been inspired by accessible bathroom guidelines or want to include advanced wellness tech, this is the final opportunity to get the infrastructure in place. Once the sheets are up and the tiling starts, making changes becomes significantly more complex and expensive.
Phase 4: Material Selection & Aesthetic Finishing
Now that the structural integrity of your space is secured, you can focus on the tactile elements that define the character of your bathroom remodel. This is where your mood board from Phase 1 becomes a reality. Choosing materials isn't just about finding a beautiful colour palette; it's about selecting products that withstand the unique pressures of an Australian wet area. Precision in your selection ensures that your sanctuary remains as functional as it is visually striking. Every choice, from the density of the floor coverings to the efficiency of the taps, contributes to the overall excellence of the project.
Safety is the most important factor when selecting floor tiles. Always check the slip rating to ensure the material is fit for purpose. For wet areas, a P3 or P4 rating is the industry standard to prevent accidents on damp surfaces. Beyond safety, consider the long-term running costs of your home. Tapware with a high WELS (Water Efficiency Labelling and Standards) rating is a wise investment. These fixtures significantly reduce water consumption without compromising on pressure, helping you save on utility bills while being kinder to the environment. To ensure a polished look, match your hardware finishes across the entire room. Your taps, towel rails, and even the hinges on your shower screen should share the same colour and texture, whether you've chosen brushed nickel, matte black, or timeless chrome.
Durability should guide your choice between porcelain and ceramic. While ceramic tiles are often more budget-friendly, vitrified porcelain is the superior choice for a high-end bathroom remodel. Porcelain is fired at higher temperatures, making it denser and far less porous than ceramic. This density provides exceptional water resistance and prevents the "chipping" often seen in softer materials. If you're ready to see these premium materials come to life, our experts specialise in high-end tiling to ensure a flawless finish for your renovation.
Choosing the Right Tiles and Grout
The size of your tiles dramatically alters the perception of space. Large format tiles create a seamless, expansive feel with fewer grout lines to clean, making them ideal for modern, minimalist designs. In contrast, mosaics offer excellent grip and allow for intricate patterns, though they require more maintenance. Regardless of the size, always use epoxy grout for its 100% waterproof and stain-resistant properties. When ordering, remember the golden rule of wastage: always purchase 10 to 15% more than your measured area to account for intricate cuts and potential future repairs.
Vanity and Fixture Selection
Your vanity is often the centrepiece of the room, so choose materials that balance luxury with moisture resistance. Reconstituted stone benchtops offer a high-end aesthetic that is far more durable than laminate in humid environments. For the toilet, in-wall cisterns provide a sleek, space-saving profile that makes cleaning the floor a breeze, though you must ensure there's an access plate for future maintenance. Finally, consider your shower screen. Frameless glass offers a sophisticated, airy look that's easy to squeegee, while semi-frameless options provide a sturdy alternative for busy family bathrooms.
Phase 5: Execution & Choosing Your Colyton Builder
Selecting the right partner for your bathroom remodel is the final, most critical piece of the renovation puzzle. It's about finding a team that respects your home's integrity as much as you do. Start your vetting process by verifying credentials through official channels. In New South Wales, any residential building work valued at over $5,000 requires a specific licence. You should use the NSW Fair Trading website to confirm your builder’s licence is current and covers the appropriate category of work. Transparency is the hallmark of a professional; always insist on a detailed, itemised quote. A "lump sum" figure often masks gaps that lead to stressful budget blowouts. A clear breakdown should separate costs for demolition, plumbing rough-ins, and high-end tiling, giving you a precise roadmap of your investment.
Local experience is invaluable when navigating the specific housing styles found in Western Sydney. Ask for references and photos of completed projects in Colyton or surrounding suburbs to gauge the builder's craftsmanship. A local specialist understands the common plumbing challenges in older properties and can anticipate issues before they arise. Site management is another vital discussion point. Confirm the project timeline and ask how they'll manage dust and site access. Knowing how the team will protect your carpets and contain the mess helps you maintain peace of mind while your home is transformed.
Vetting Your Bathroom Specialist
Ensure your chosen expert has a dedicated focus on wet areas. You need to know if they specialise in the technical aspects of waterproofing and epoxy grouting specifically. For any project exceeding $20,000, your builder must provide a Home Building Compensation (HBC) insurance certificate before taking a deposit or starting work. This is a legal requirement in NSW that protects you if the project can't be finished. Ask how they handle variations or unexpected structural issues found during demolition. A seasoned professional will have a transparent process for communicating these changes, ensuring you're never caught off guard by structural adjustments.
The Final Handover Checklist
As the project nears completion, don't rush the final inspection. Conduct a thorough "punch list" walkthrough with your builder to identify any minor paint touch-ups or tile chips. Inspect the light reflecting off the surfaces to ensure the finish is flawless. This is also the time to collect all your essential documentation for your home records. These documents are vital for your insurance and future property value.
- Waterproofing Certificate: This confirms compliance with AS 3740 standards.
- Warranties: Collect all manuals and warranty cards for exhaust fans, heaters, and smart tech.
- Compliance Certificates: Ensure all electrical and plumbing work is signed off by licensed tradespeople.
Ready to transform your space into a modern sanctuary? Contact Bigcs Renos for a professional bathroom remodel in Colyton today and experience a renovation built on precision and pride.
Start Your Journey Toward a Stunning Sanctuary
A successful bathroom remodel is a journey from initial inspiration to meticulous technical execution. By prioritising the "hidden" essentials like AS 3740 waterproofing compliance and choosing durable materials, you protect your home's structural future. Remember that the quality of your finish is only as good as the preparation beneath the surface. From managing your 2026 budget with a contingency fund to selecting high WELS-rated tapware, every decision you've planned today ensures a stress-free renovation tomorrow.
As a locally owned family business in Western Sydney, Bigcs Renos brings 15+ years of industry experience to every project. We are specialised waterproofing and epoxy grouting experts who take immense pride in delivering meticulous results that stand the test of time. Our team is here to guide you through every regulatory requirement and design choice with professional confidence. Get a Quote for Your Colyton Bathroom Remodel
It's time to turn those mood boards into a reality. We look forward to helping you create a beautiful, modern space that adds lasting value and comfort to your home.
Frequently Asked Questions
How much does a bathroom remodel cost in Sydney in 2026?
The investment for a Sydney bathroom remodel depends on the project's complexity and the quality of finishes you select. Structural changes, such as moving plumbing or expanding the footprint, will naturally increase the total. We recommend focusing on high-quality "behind the scenes" elements like waterproofing first. To get an accurate figure for your specific home, it's best to request a detailed, itemised quote from a local specialist.
How long does a standard bathroom renovation take from start to finish?
A standard project typically takes between 3 to 6 weeks to complete. This timeline accounts for demolition, plumbing rough-ins, waterproofing curing times, tiling, and the final fit-off of fixtures. Complex structural work or custom cabinetry can extend this period, so it's vital to discuss a clear schedule with your builder before work begins. Proper planning ensures the project moves methodically toward a beautiful, finished result.
Do I need council approval for a bathroom remodel in Colyton?
Most internal bathroom renovations fall under "exempt development" and don't require a Development Application (DA) if you aren't changing the building's footprint. However, if you're planning a structural home extension or moving load-bearing walls, you should check with Penrith City Council. Compliance with NSW building codes and Australian Standards is always mandatory to ensure the safety and longevity of your new wet area.
Can I stay in my house while the bathroom is being renovated?
Yes, you can usually stay in your home if you have access to a second bathroom during the project. If the renovation involves your only bathroom, you'll need to arrange alternative facilities, as the space will be a construction zone without water or a toilet for several weeks. Professional builders strive to minimise dust and disruption to your daily life while maintaining a steady, purposeful workflow.
What is the most expensive part of a bathroom remodel?
Labour and structural changes are generally the most significant expenses in a bathroom remodel. Relocating plumbing points, such as moving a toilet or shower waste, requires extensive work under the floor and adds considerable cost to the project. High-end finishes like natural stone benchtops or custom-built vanities also contribute heavily to the final budget. Prioritising your "must-haves" early helps you manage these costs effectively.
Is waterproofing really that important if I am just replacing tiles?
Waterproofing is absolutely non-negotiable whenever tiles are removed. The process of stripping old tiles almost always damages the existing membrane, leaving your home vulnerable to leaks. To ensure your wet area remains 100% watertight and compliant with AS 3740 standards, a new professional membrane must be applied and certified. Skipping this step often leads to incredibly expensive structural repairs and mould issues down the track.
Should I choose a floor-to-ceiling tile layout?
Floor-to-ceiling tiling is a popular choice for creating a luxurious, spa-inspired aesthetic in your home. It makes the room feel taller and is far easier to maintain than painted surfaces in a high-moisture environment. While it requires a larger initial investment in materials and labour, the result is a more durable, moisture-resistant space that adds significant long-term value and a sense of polished excellence to your property.
What is the difference between a bathroom remodel and a renovation?
A bathroom remodel usually involves changing the structural layout or altering the room's core function, such as moving a shower or toilet. In contrast, a renovation typically focuses on restoring or updating the existing space with new tiles and fixtures without shifting the plumbing. Both methods are effective ways to enhance your home's appeal and increase property value through dedicated craftsmanship and a forward-thinking design approach.


